

Words by Robert Davies Photos by Max Linder
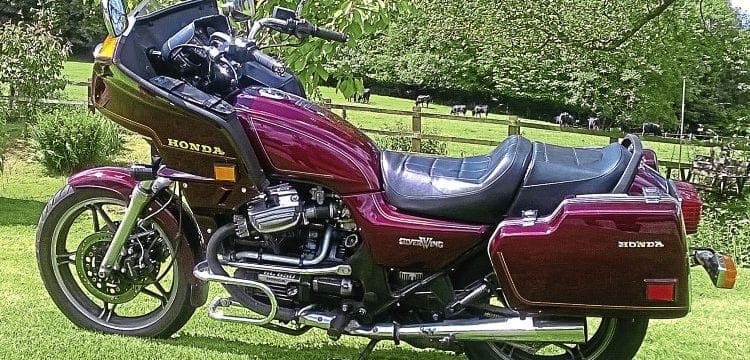
After three decades, even the most upmarket incarnation of Honda’s CX V-twin family can get a bit shabby. This 20,000 mile example needed a mite more than spit ’n’ polish to bring it back to its best.
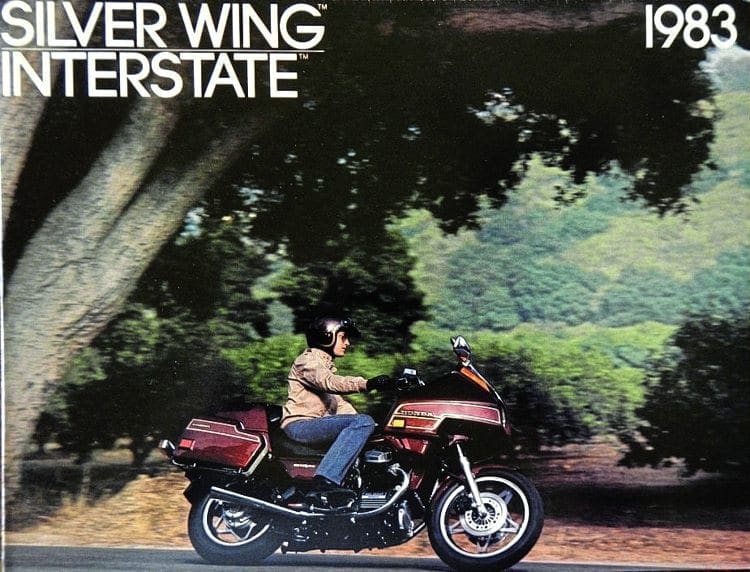
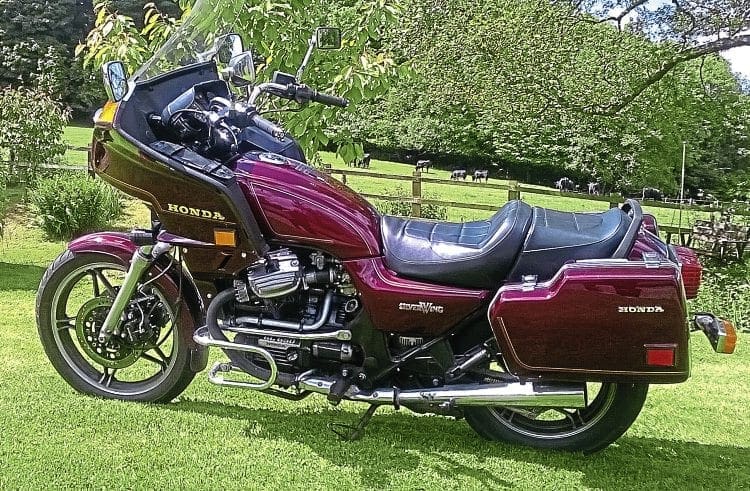
The 1983 Honda GL Interstate V-Twin 650 was one of the last manifestations of the CX series, introduced by the company from 1978.
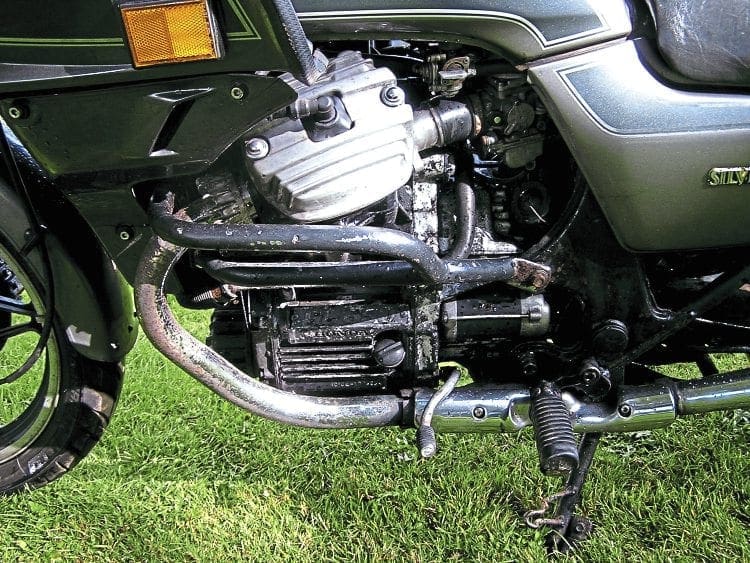
The first 500cc CXs were a transverse V-twin, a complete departure from other Japanese engine configurations, more like the Moto Guzzi, which came as a bit of a surprise to the biking fraternity of the time.
Enjoy more Classic Bike Guide reading in the monthly magazine.
Click here to subscribe & save.
Nevertheless the bike with its short wheelbase became exceedingly popular, and sold in high numbers from its inception onward.
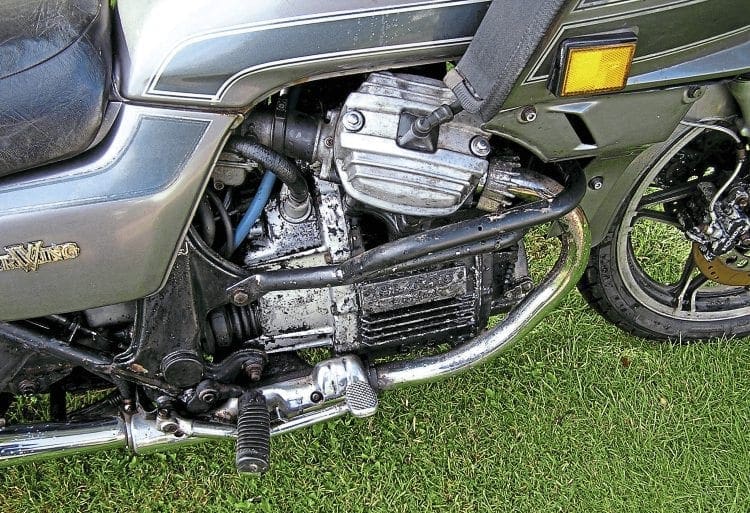
The twin cylinders had been ‘twisted’ to bring the carburettors inboard and out of the way of the rider’s knees.
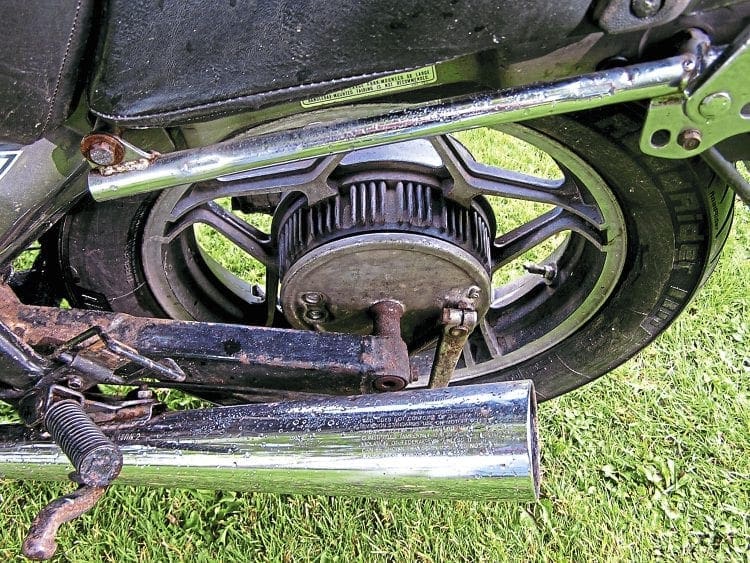
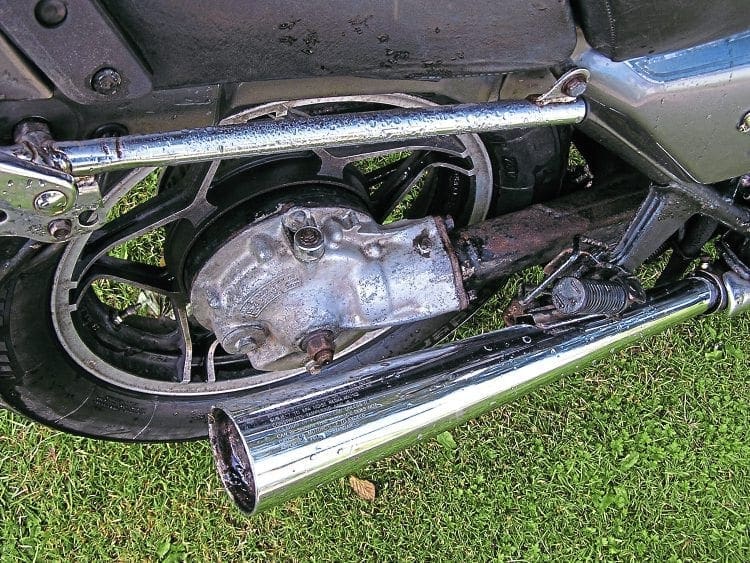
The CX featured shaft drive and full electronic ignition, with the CDI (Capacitor Discharge Ignition) located under the seat and on top of the rear mudguard.
This transistorised unit, with its capacitor for creating the voltage necessary for the spark, was sealed in resin for life; a pointless exercise you might say (that was a joke, by the way). Water cooling reduced engine noise and helped to provide – hopefully – a longer engine life.
Many variations followed over the next eight years, culminating in the 650 Interstate (US) version, the GL650 in the UK, in many ways making it the ‘baby’ GoldWing, thus giving it the slightly lesser title of SilverWing.
Early 500cc models were fitted with conventional front hydraulic suspension and coil shocks at the rear. Later 650 versions had air assisted forks and the Honda Pro-link monoshock which gave so much trouble on this rebuild.
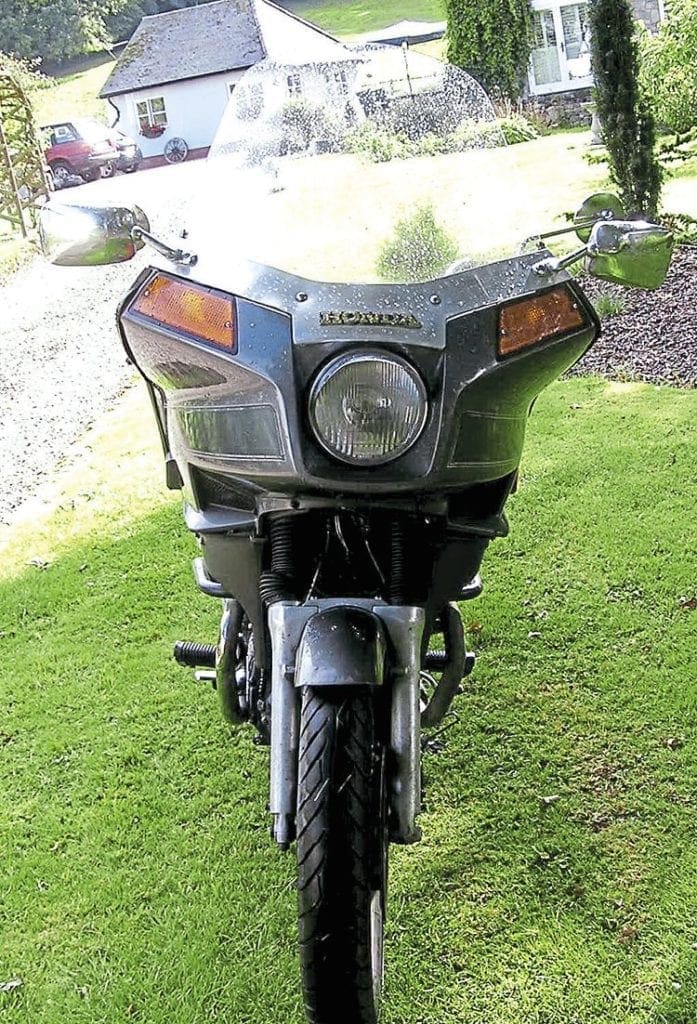
The Interstate featured here had a large factory fairing; hard saddlebags, but not the large top box that could take the place of the pillion seat; which in the US was called a trunk.
Various pages on the web describe the later 650 version as being much more reliable, stronger and smoother than earlier 500c models.
Yet the relatively high mass of the V-twin means that the bike has received criticism for not handling well, with some riders saying it felt top heavy.
Nevertheless, the GL was popular, eminently practical and quite stylish.
Before anyone starts a project, the first thing is to do research on any bike that you fancy restoring, and of course there is so much online to look at and read, so that’s the place to start.
Then, when you have chosen a particular bike, there comes the initial assessment. You have to be able to look a bike over and check as much of it as possible within a reasonable time frame.
This Honda, advertised on Gumtree, was in a bad way, especially all of the original silver bodywork, tank and side panels, but it was going at the right price, a price that would allow for work, and for secondhand parts to replace the rubbish that was obviously there.
Always with a project you have your good luck and your bad luck. In this case someone was selling all the bodywork from another Interstate on eBay, and it was in exceptional condition.
The bad news was that the rear suspension of the bike was seized solid, and that was where a lot of work was required.
We knew from the seller that the thermal switch to the fan wasn’t working, and that someone had by bypassed it with a dreadful bit of wiring. The engine did turn over and run; so that was good, but the starter clutch needed replacing, and the mileage was after all only 20,000 miles; relatively low and always a plus.
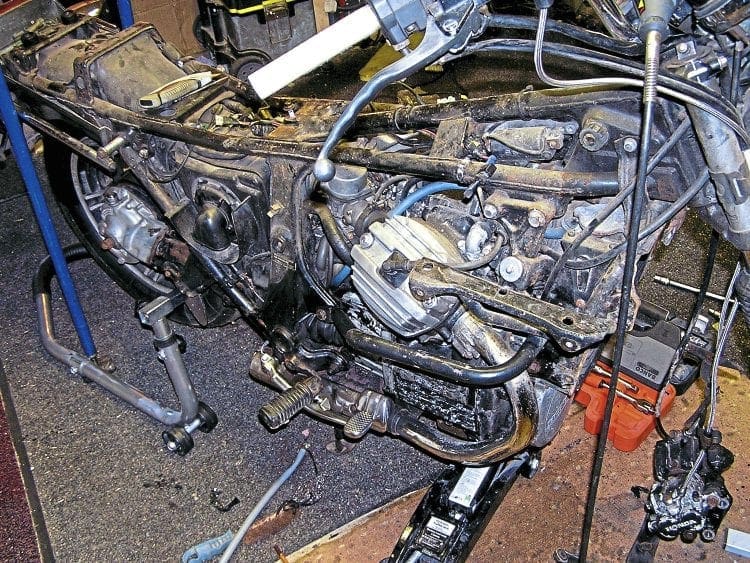
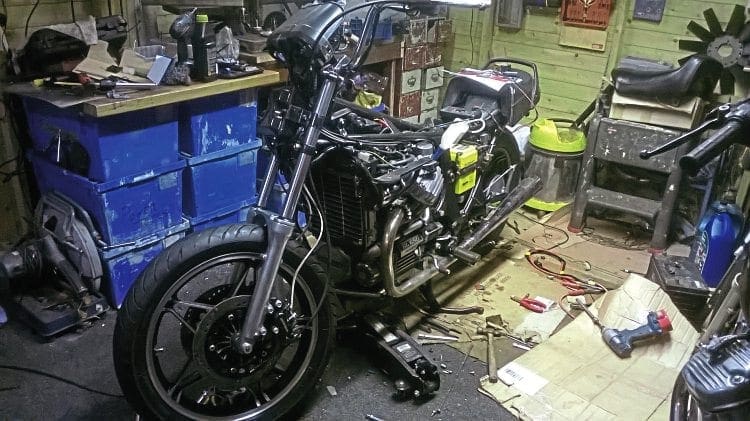
Now it was time to start taking it apart. All bolts and small fastenings went into plastic packs that were well marked to show where they had come from.
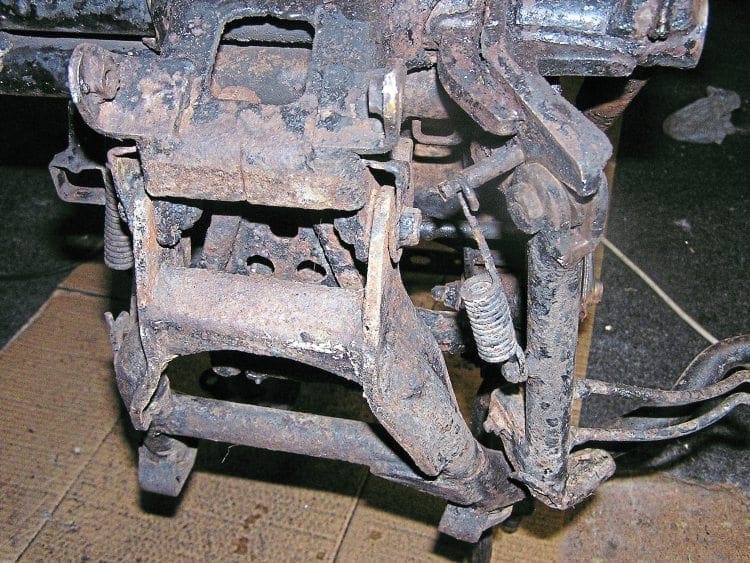
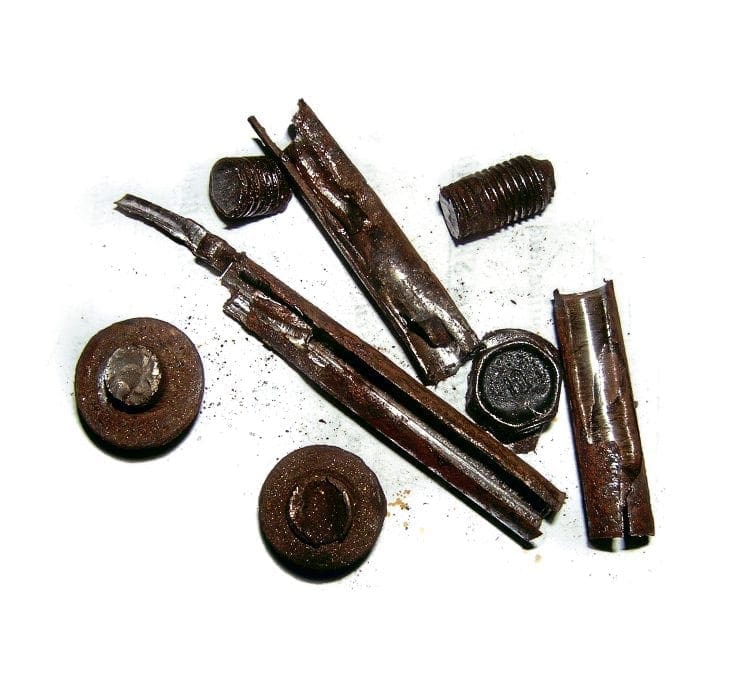
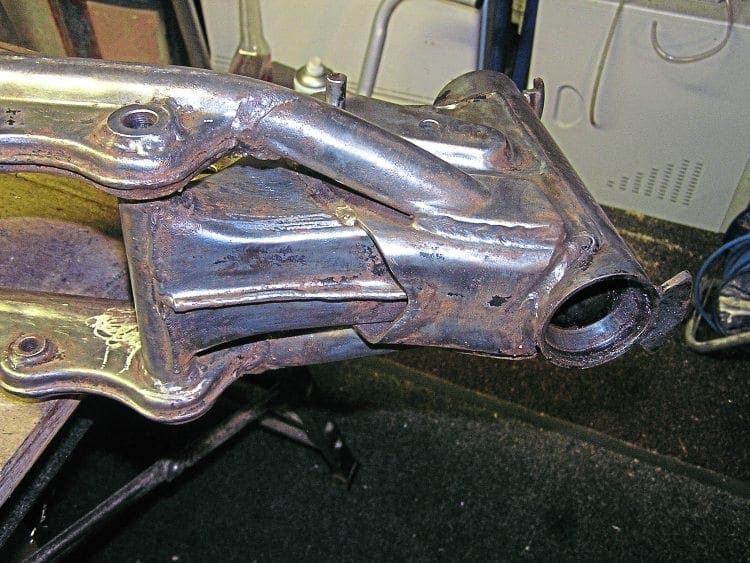
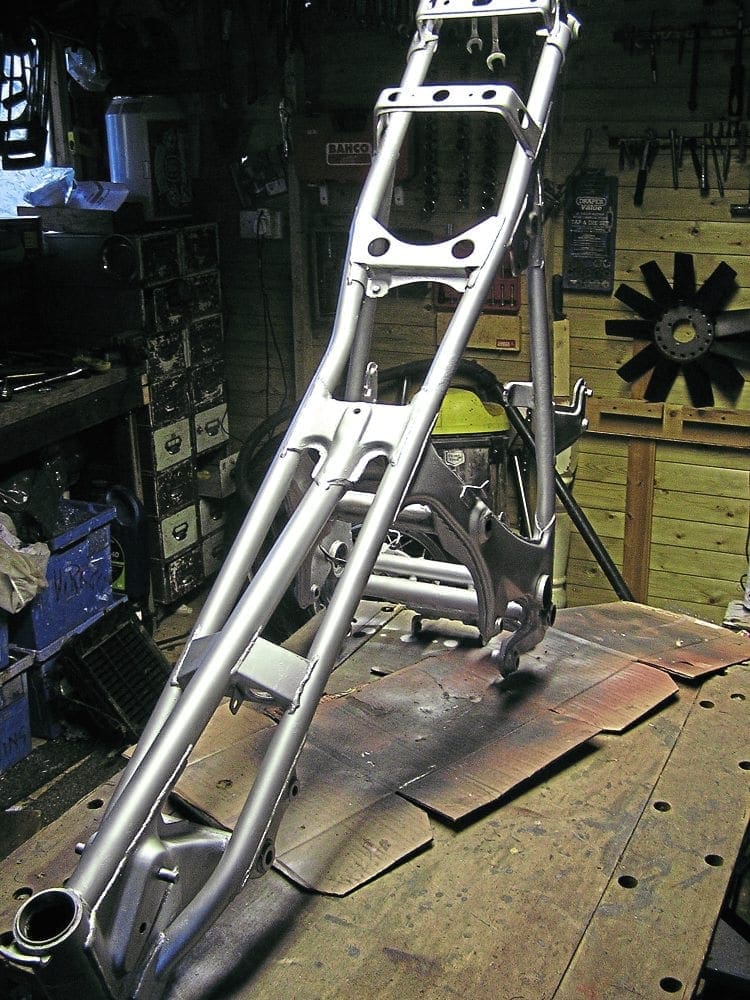
As they say, fail to plan and you plan to fail. No doubt the worst part of the Honda was the underside of the frame where the monoshock tied in, and this was seized solid – no movement at all.
This necessitated drilling right through the main long bolts, a lot of sawing, and drifting out with the hammer. New pivot bolts were obtained from the US online.
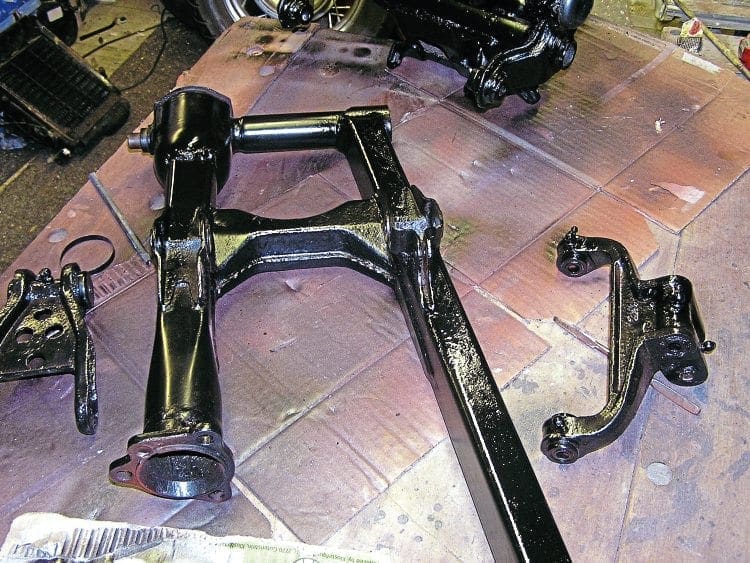
The underside of the frame showed some poor design, where rubber boots had quickly perished and there was no provision for greasing.
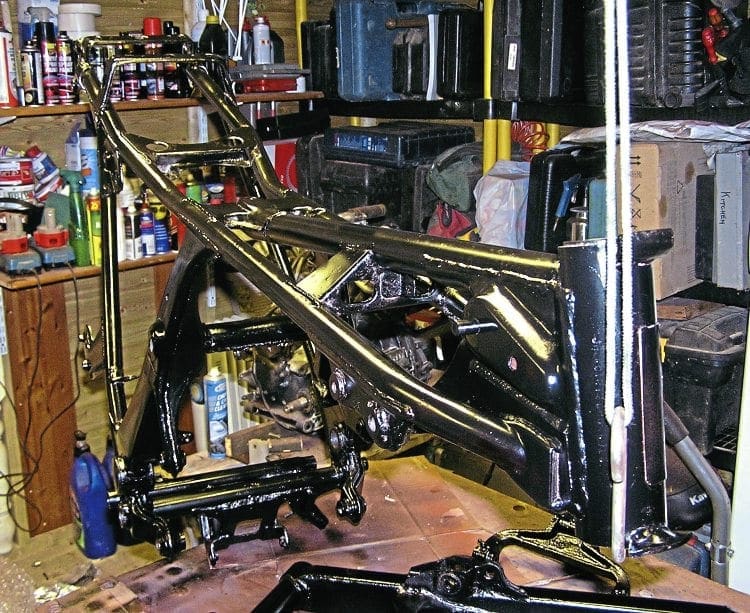
So holes were drilled, grease nipples fitted, and job done, except of course for lots of wire brushing to get back to bare metal before priming and painting. Next came the frame, which had also been hard hit by weather. This needed to be wire brushed, using power tools where possible, but fortunately there was no serious rot.
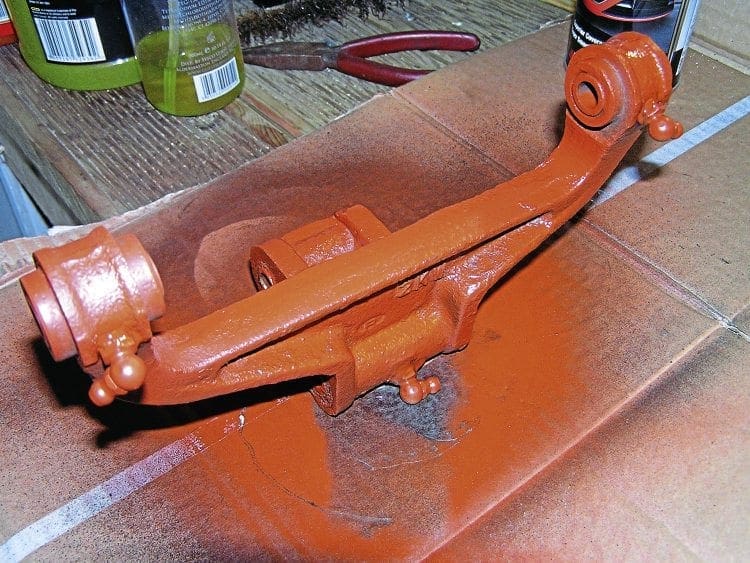
For all frame work a zinc etching primer was sprayed on, followed by red oxide, followed by black gloss. This was all done with rattle cans.
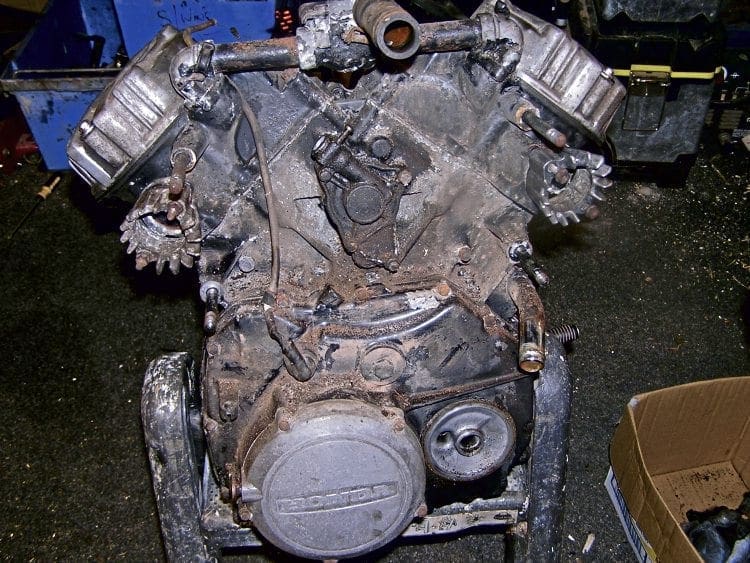
We knew that the engine started and ran without knocks or rattles, but the cooling system needed checking over, and while the engine was out of the frame it was deemed best to fill its lubrication system up and flush it through completely with white spirit before putting any oil back.
The cooling system was also flushed through under pressure to see that the water came out of the all the orifices that it was supposed to come out.
After this all of the aluminium covers had to come off – including the rocker covers – for a thorough polish, using block polish and buffing wheels.
The rest of the engine was soda blasted – using a DIY technique discovered on YouTube – before it too was sprayed with high temp black.
The starter clutch was replaced, the rear engine casing was refitted with new gaskets, oil seals and a mechanical seal were fitted behind the water pump impeller, which had failed completely (a known weak point on these bikes).
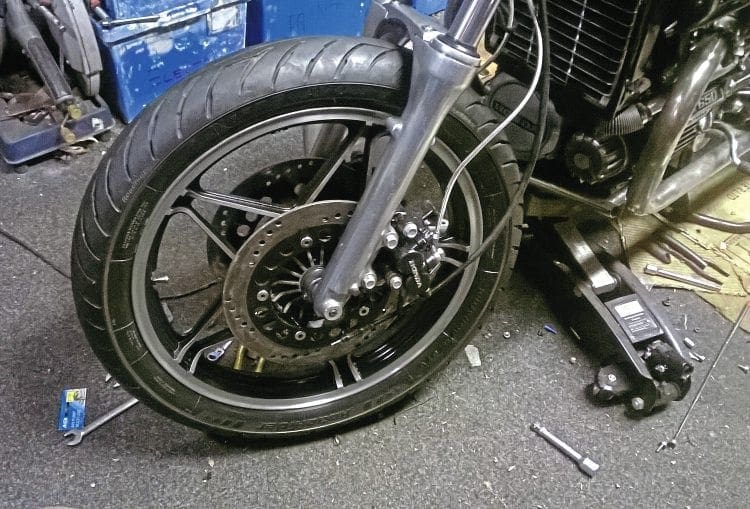
Then it was onto cleaning, polishing and respraying the wheels and rims.
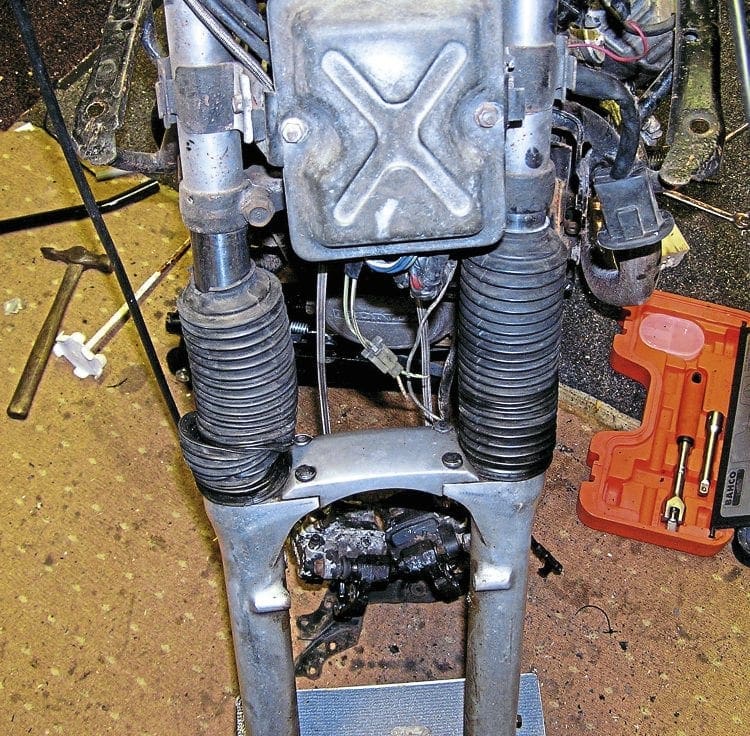
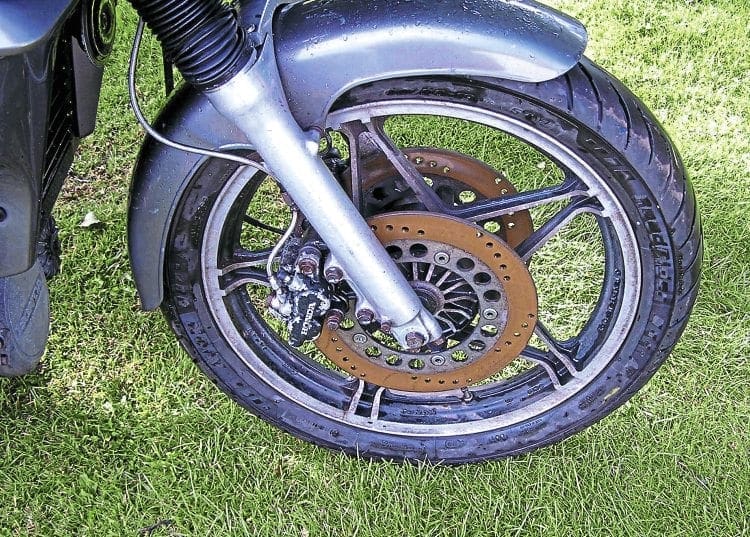
The front brakes were also seized solid, and the discs brown with rust, so the callipers had to be stripped, cleaned out and new seals fitted.
Aluminium callipers can often suffer from crud building up in the grooves where the seals lie, so it’s always best to use or make a small scraping tool to clean all this out before fitting the new seals and pistons. At the front of the bike the fork seals had gone, so they were replaced.
While all this was going on, new stainless bolts had been ordered from the internet to replace all the rusty ones.
It was originally thought that it would be necessary to have some items re-chromed, but this can be an expensive game, and again with a bit of luck on eBay, we found someone selling just the right chrome engine bars in good nick.
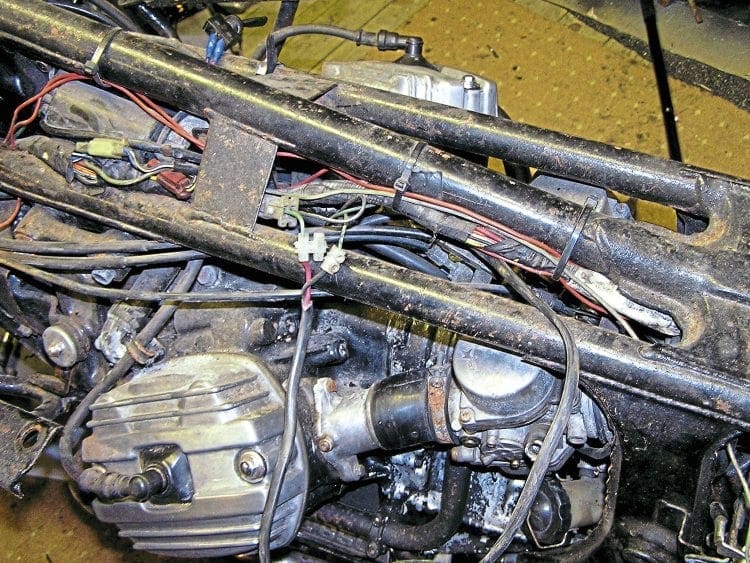
Like I said, you have to have a bit of luck at times. Attention was then turned to the wiring loom, which had inevitably been tampered with. This was essentially checked all the way through, often with a multi-meter to find out where poor connections lay, and then re-covered.

And carefully – over four months – the bike came gradually back together, with the eventful restart, now filled with clean oil and filters. Finally the seats were re-foamed and re-covered; and It flew through the MoT. What more can you ask of a rebuild?
Advert
 Enjoy more Classic Bike Guide reading in the monthly magazine. Click here to subscribe.