If you tighten a bolt too far or too often, it will pull part of the thread out from what you are tightening it into. The thread comes out within the thread of the bolt, and you’re left with no way of tightening the bolt. A Helicoil insert is a way of replacing that thread – and it’s really quite easy.


Our centrestand bolt has threaded the frame – here’s how we fixed it.
What you need:
- Drill
- Helicoil kit
- Thread gauge
- Correct-sized tap
- Oil
- Hammer

Step One: Identify the thread
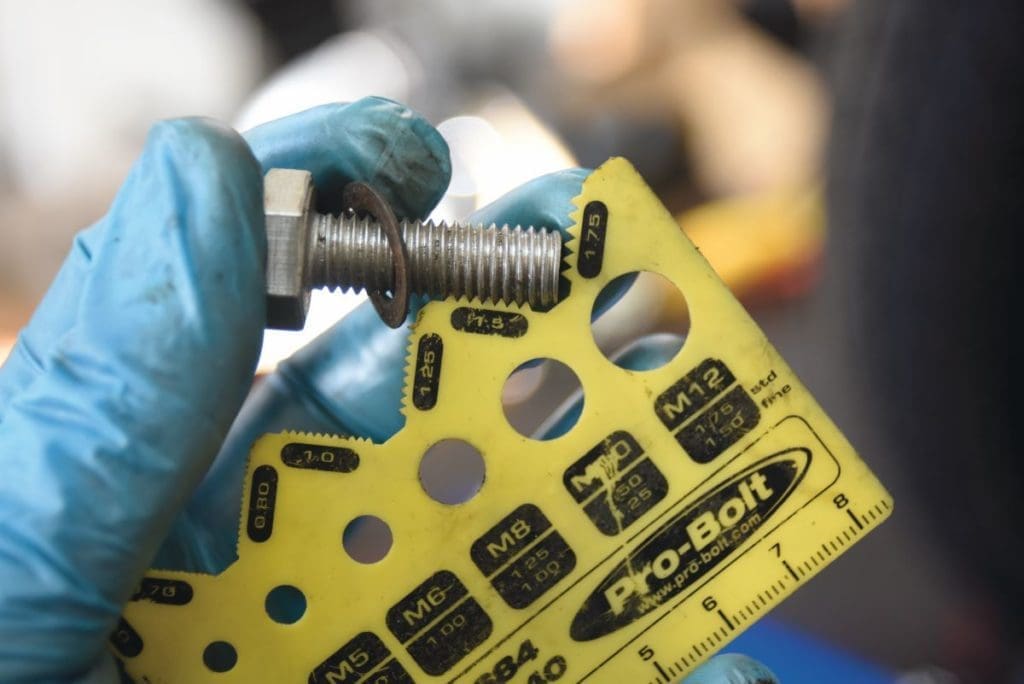
First, you need to identify the thread. Metric threads are measured by diameter of thread, i.e., M8, but there are some with fine and course thread pitch, for example M8 x 1.00, or M8 x 1.25. Get the right one by using a simple thread pitch guide. British bikes use any manner of imperial sizes, so use imperial guides to get the correct Helicoil, or you could, at a pinch, fit the nearest metric size if that’s all you’ve got.
Enjoy more Classic Bike Guide Magazine reading every month.
Click here to subscribe & save.
Step Two: Drill
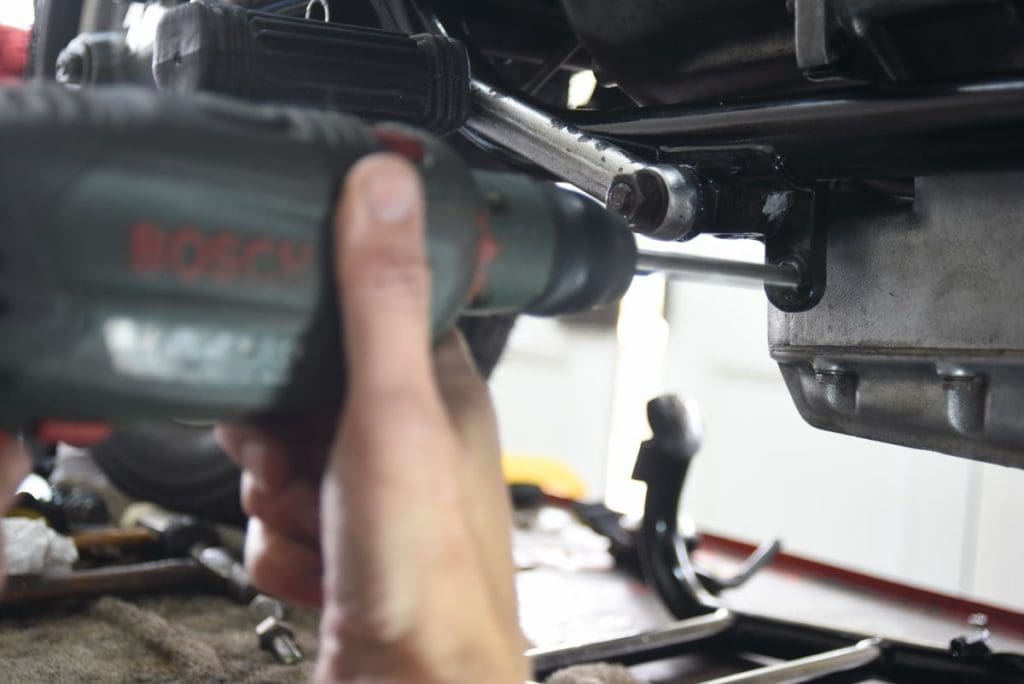
The hole that’s stripped needs to be over-bored with a drill to then be able to take the new insert. It is essential to get the drill straight, so take your time. Ours were going into the frame to take the centrestand bolts, so were not too deep.
Step Three: Tapping
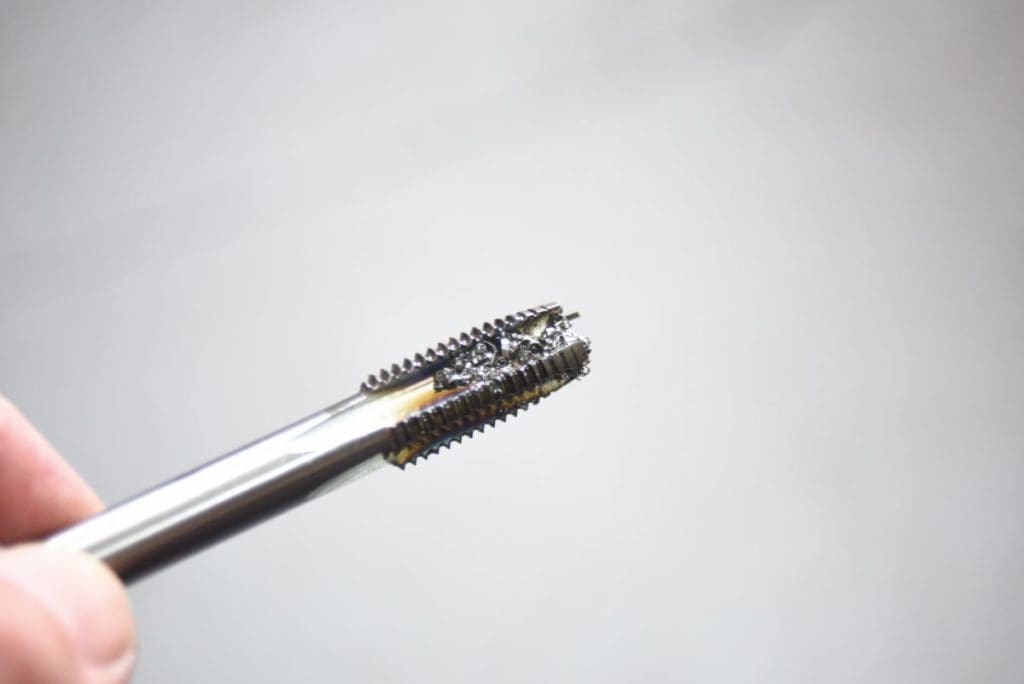
With the holes drilled out slightly oversized, it now needs to be tapped. Remember, you are looking at tapping the size to take the Helicoil, which will be larger than the bolt you want to fit eventually – I have panicked myself that way before!
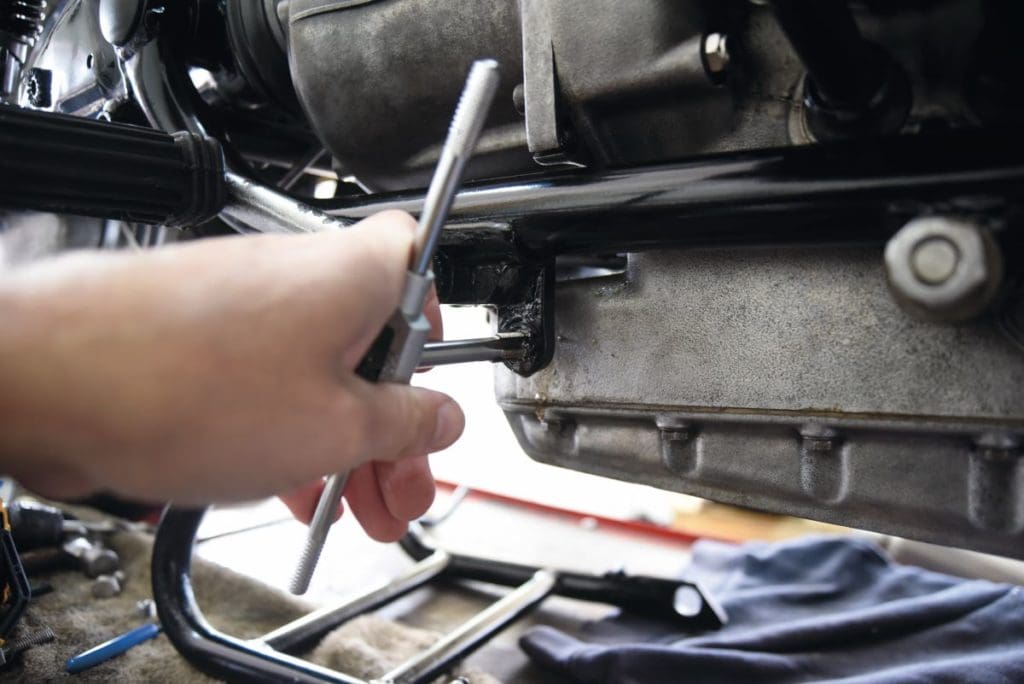
The tap should come in your Helicoil kit. Take your time to get it straight and once you feel a grip, cut around a fifth of a turn, then turn back. This helps to clean the cutting head of swarf. I also use a cutting oil to make life easier. Once cut through to the depth you want for the insert, use a bottle or toothbrush and brake cleaner to clean the thread up.
Step Four: Pop the insert on the twisting tool – pay attention to the tang!
Next, pop the insert onto the Helicoil twisting tool. Make sure the tang sits in the tool’s slot, so when you screw in the insert, the tang is at the bottom.
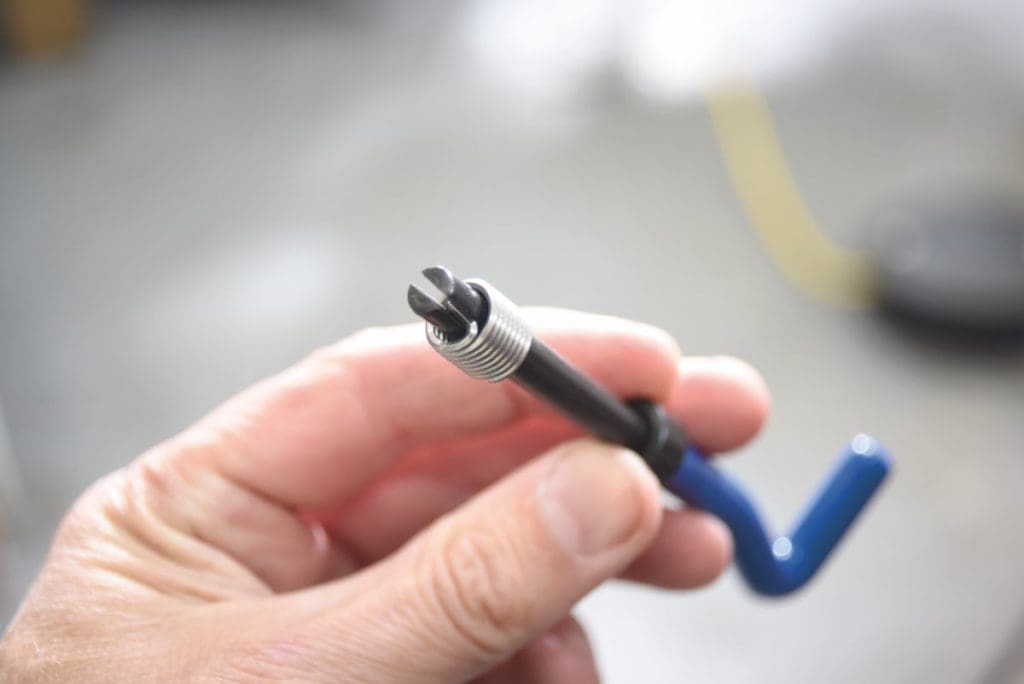
Step Five: Screw
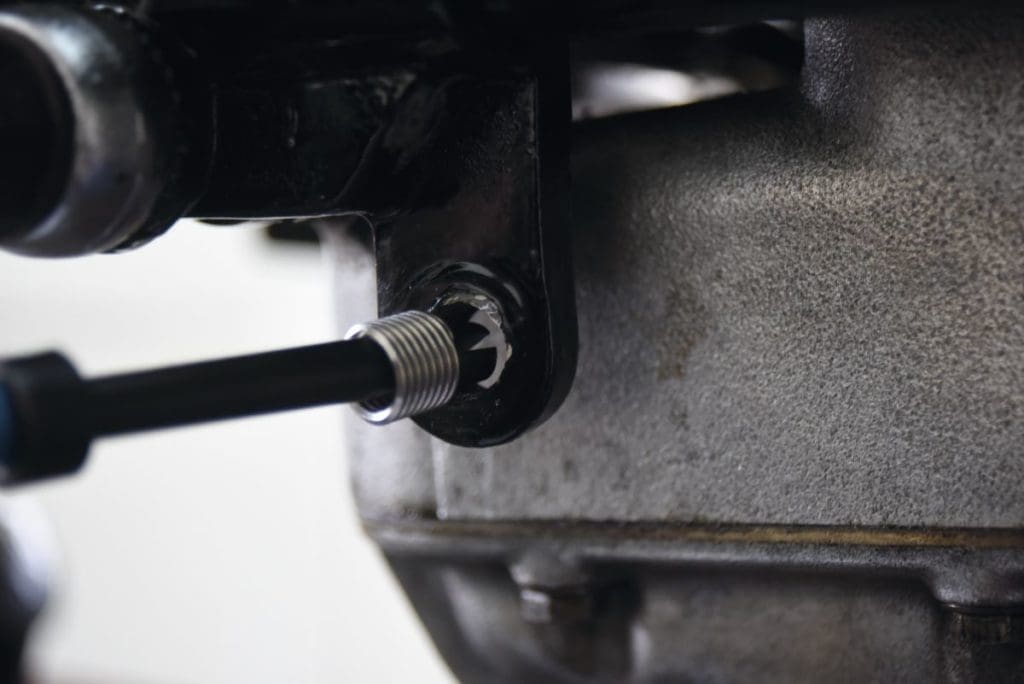
Screw carefully so as not to break the tang.
Ours went in smoothly, but you can use a threadlock, like Loctite 262 if you are concerned, or if the insert is somewhere that will get hot.
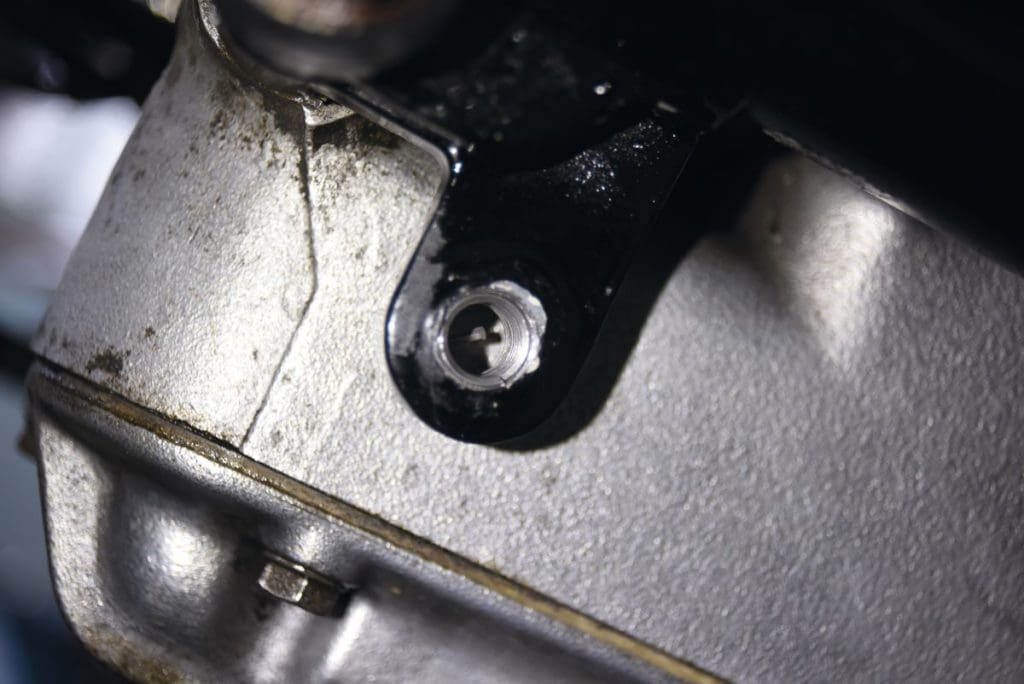
Step 6: Break the tang off
Once home, remove the slotted tool and get a drift and hammer to break the tang off.
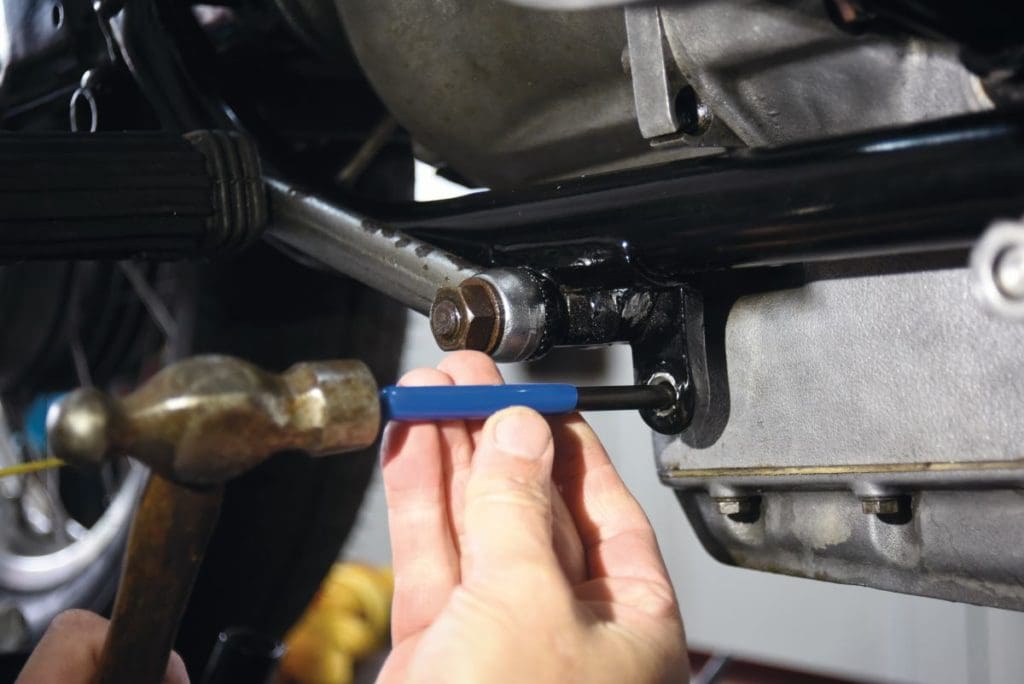
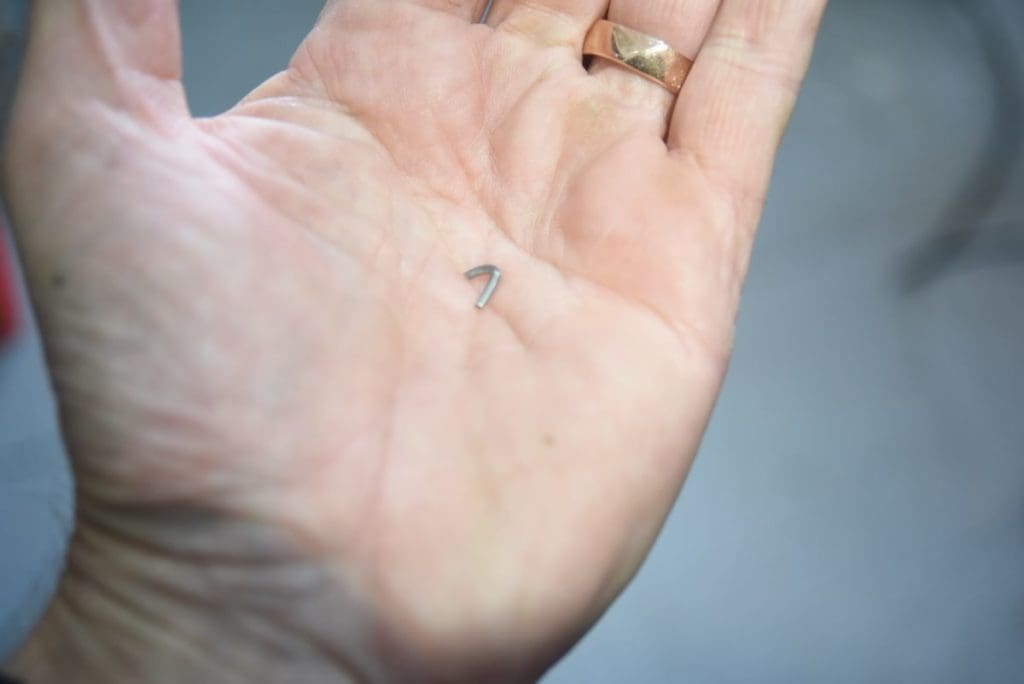
And…done!
Specialists
If unsure of what you need, check out these specialists, especially for one-offs, tricky areas, or imperial sizes:
Uni-thread.com
Tracytools.com


