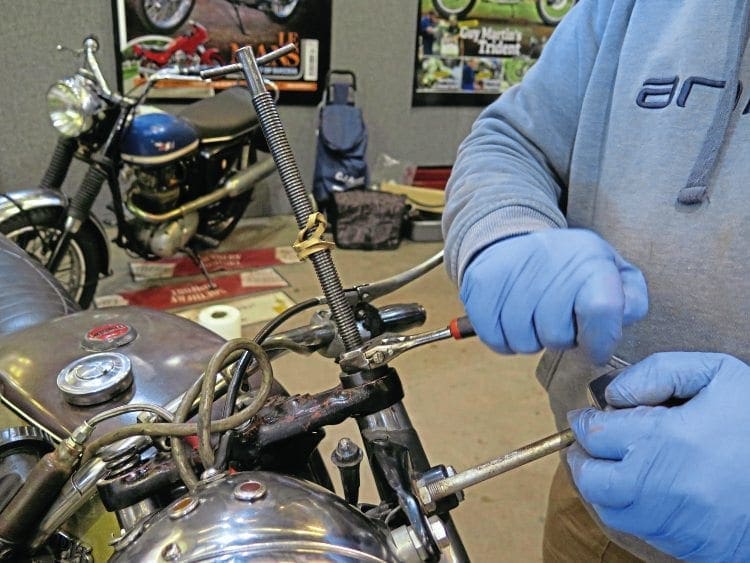
To make life fun, Oli rebuilt his T140 forks at the Bristol show!
WORDS AND PHOTOGRAPHY By Oli
REPLACING THE STANCHIONS/FORK TUBES or fitting new seals to Triumph/BSA ‘Ceriani’ type front forks isn’t complicated or beyond the skills of an average home mechanic, but it is quite possible to muck it up. At least one special tool will come in handy, and so will a certain amount of upper body strength.
Enjoy more Classic Bike Guide Magazine reading every month.
Click here to subscribe & save.
To hold everything together during this job, do one fork leg at a time. This makes life easier and will stop the headlight falling out of position.
First, drain the fork legs of old oil into drip trays by undoing the two drain screws at the base of the leg. Doing this the day before is a good idea. If you compress the forks a little with the screws out, it will squirt some of the oil out too.
Now put the machine on the centre stand, putting a block of wood underneath the stand to lift the front wheel a little higher.
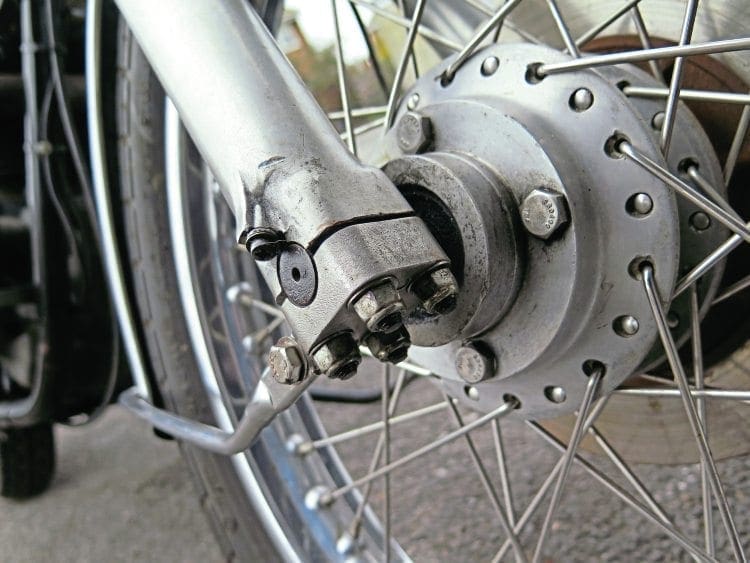
Remove the front wheel by unbolting the four nuts on the fork end caps and the bottom mudguard stay. Mark the two caps to be sure you fit each one back on its correct side.
To make life easier, while everything is still under tension, try to loosen the damper rod Allen screws that are at the bottom of the forks. Either use an Allen key, a powered impact driver if you have one, or a cordless drill/screwdriver set on reverse.
Don’t undo them all the way, unscrew the chrome caliper cover and loosen the nuts holding on the caliper. If you do this with the mudguard still in place it will make life a lot easier.
Undo the two nuts under the top yoke holding in the p-clamps out of the anti-vibration mounts and pull them out. Undo the two fork caps with the 1½ inch socket/spanner and remove the instruments, if they are the type bolted to the fork caps.
Remove the Allen bolts that are clamping the fork tubes into the yokes.
Unbolt the mudguard and remove it. Remove the caliper while leaving the hose connected. Use a piece of wire or bent welding rod to suspend the caliper from the frame and reduce strain on the hose. Using a ½ inch Allen key, unscrew the fork tops.
Read more and view more images in the May 2019 issue of CBG – on sale now!