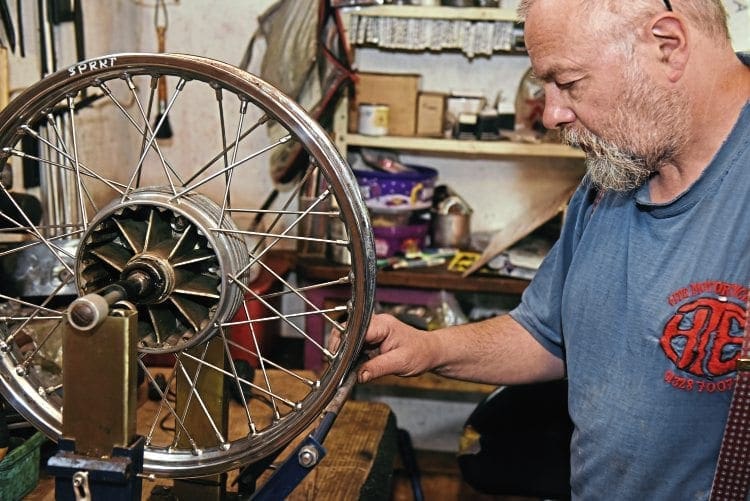
It looks straight forward, but there’s so much involved in building a good, safe wheel. We look at the basics and watch Hutch at HTE build our AMC wheel
Firstly, this is not a ‘how to’ guide on building a wheel.
While you could, in theory, do it yourself; you’ll need a building jig, a trueing jig, various tools and spanners; not to mention years of experience, built up through years of lacing up many different wheels from many different bikes.
Enjoy more Classic Bike Guide Magazine reading every month.
Click here to subscribe & save.
If you don’t do it regularly, you lose it all and most importantly, a badly made wheel could be fatal.
There will also be many approaches to lacing a wheel; so we’re not saying this is the only way.
But I found it a methodical way and even if you never give it a go, hopefully by knowing a little more you’ll appreciate what’s involved to build a good, straight, safe wheel.
Our wheel
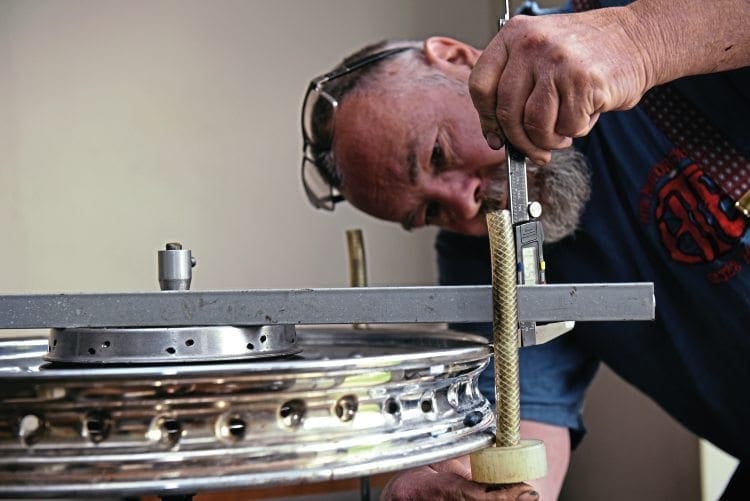
The wheel we’re using is our Matchless G3L rear wheel that looks in great order.
But Hutch had noticed it was laced incorrectly on one side which could cause premature failure, so apart it had to come.
The inner spokes, which should run inside, were woven over the outer spokes, making them bend. So we are just relacing this wheel, not fitting a new rim.
If you are, it is essential to make sure the rim is drilled for the hub and angle you need.
But beware, they may have been drilled to a different pattern but still fit sometimes.
Again, this is another reason experience counts.
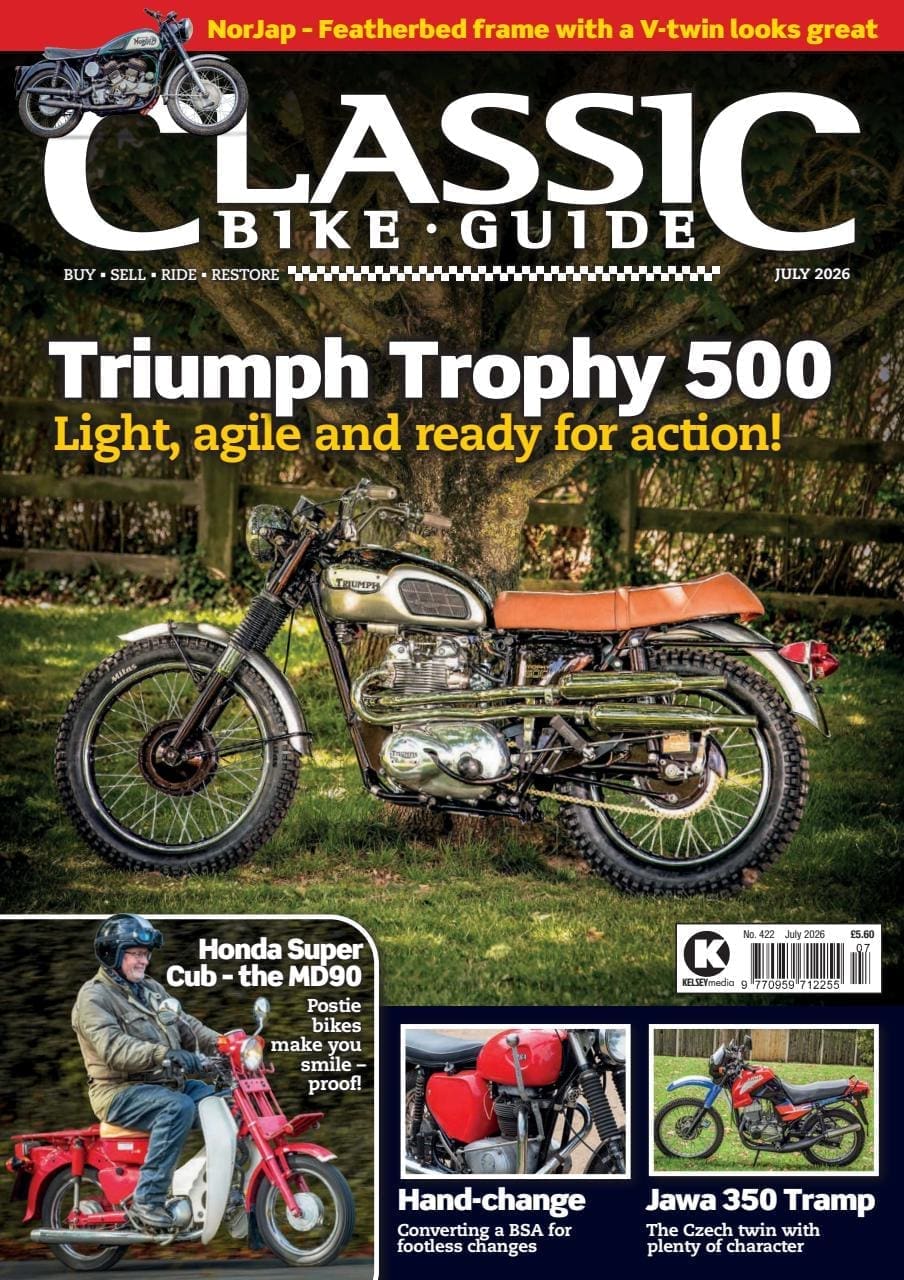
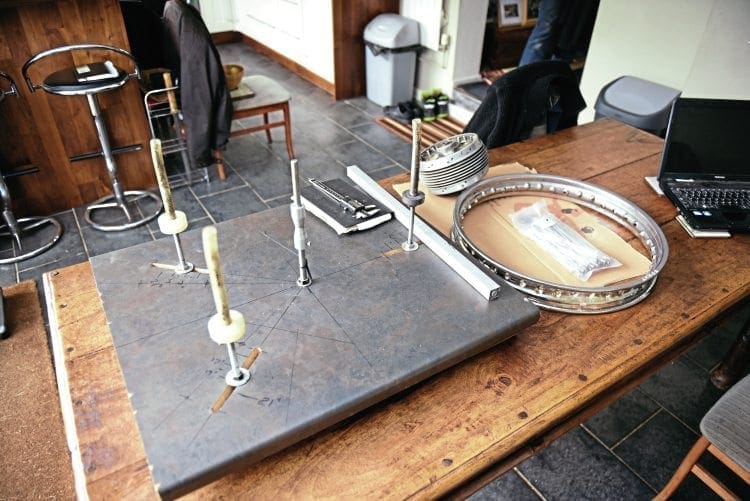
After stripping the tyre, tube, rim tape and a good clean it’s time to get your measurements. Using a straight edge on the hub, find your offset between that and the rim using a Vernier.
Write it down, then the other side, making a note of which is which.
Should you do this again, you start to build up a book of details about different wheels.
Read more and view more images in the August 2019 issue of CBG – on sale now!